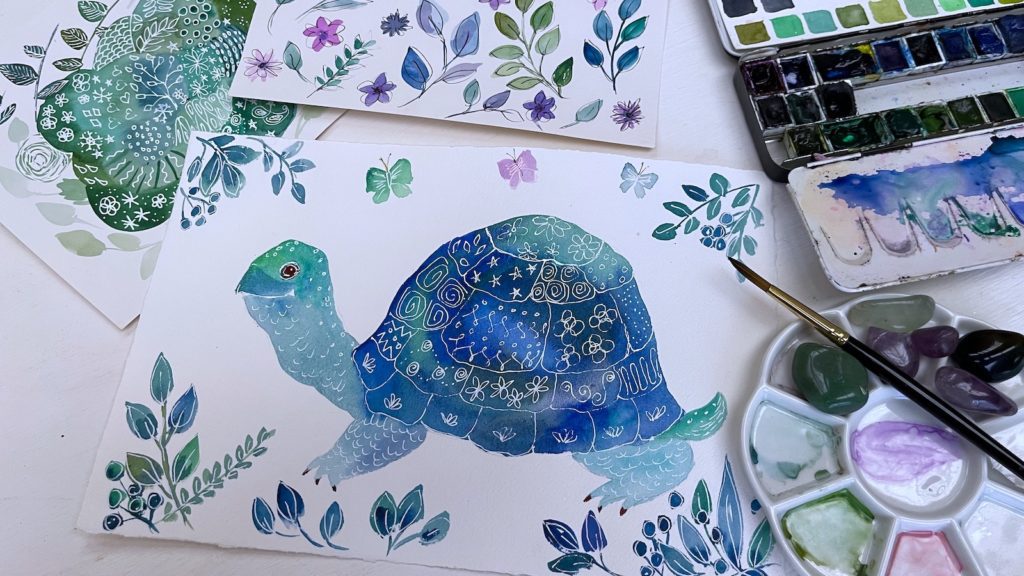
Playing around with a box of paints and a white gel pen often leads to an idea for a painting, and that was the case with this pretty, blue turtle which I have for you in today’s video.
Watch as I guide you through the process of choosing harmonious colour schemes, and then painting and embellishing a whimsical land turtle.
To finish, we sketch and paint a pretty leafy border with a few butterflies to keep our turtle company.
You can download the sketch of the turtle here.

Materials
For this painting I used a random selection of blues and greens plus a little dab of violet. You don’t need to worry about not having the right colors as anything will do!
I used a piece of Arches 140lb cold pressed watercolor paper for my surface, but Andy paper will work for this little painting. I got some nice colour blends on the arches, as it is such a nice 100% cotton paper, but you can get some fun backruns and effects on cellulose paper too, which will give you all sorts of backgrounds to embellish.
I used a size 9 round brush and a Signo white gel pen to do the final work.
Method
After lightly sketching the turtle in pencil I filled in the shell with a random selection of blues and greens, allowing them to mix and mingle and blend as they wanted to. Then I painted the head, neck and legs of the turtle, not forgetting his tail!
I then painted some very casual leaves and berries, plus a couple of butterflies, all around the turtle.
After thoroughly drying the first stage I continued with a gel pen, and drew in the sections on the shell, which I then filled with various embellishments in the form of random doodles.
Then the scales on the legs and neck, and a nice big brown eye.
Voilà!