I have only recently discovered Gelli plates, and even more recently started to experiment with using them for creating backgrounds and images. The whole idea of gelli plates is widely covered on YouTube almost exclusively by artists using acrylic paints, maybe various acrylic inks and similar, but I soon discovered that doesn’t mean you can’t use watercolors! You can get a very interesting result using watercolor paints, and if you follow my guidelines to start with, you’ll soon be branching out into all sorts of possibilities once you’ve given it a try!
So what is a Gelli plate?
When I recently became interested in journalling, especially creating my own version of the hand-made books which are all over YouTube, it soon became evident that many journal-makers used gelli plates to create some of their papers and collage sheets (aka “fodder”)
Watching some of the videos they produced gave me the desire to own one of these beauties and so I invested in a 6” x 6” one as a trial.
It turns out that a Gelli plate is a magical piece of rubbery, gelatine and glycerine based material which accepts paint readily, releases it easily and has limitless possibilities and longevity.
Sound like fun? It is!
Special equipment
There is nothing you absolutely need to use a gelli plate that you won’t already possess, but there are a couple of things you might want to acquire.
Brayer
This is a roller for applying the paint to the plate evenly. You don’t absolutely need one to get started, as you can put the paint on with a brush. But the brayer offers more control and “finesse” in the effects you can achieve. They are relatively inexpensive.
Paints
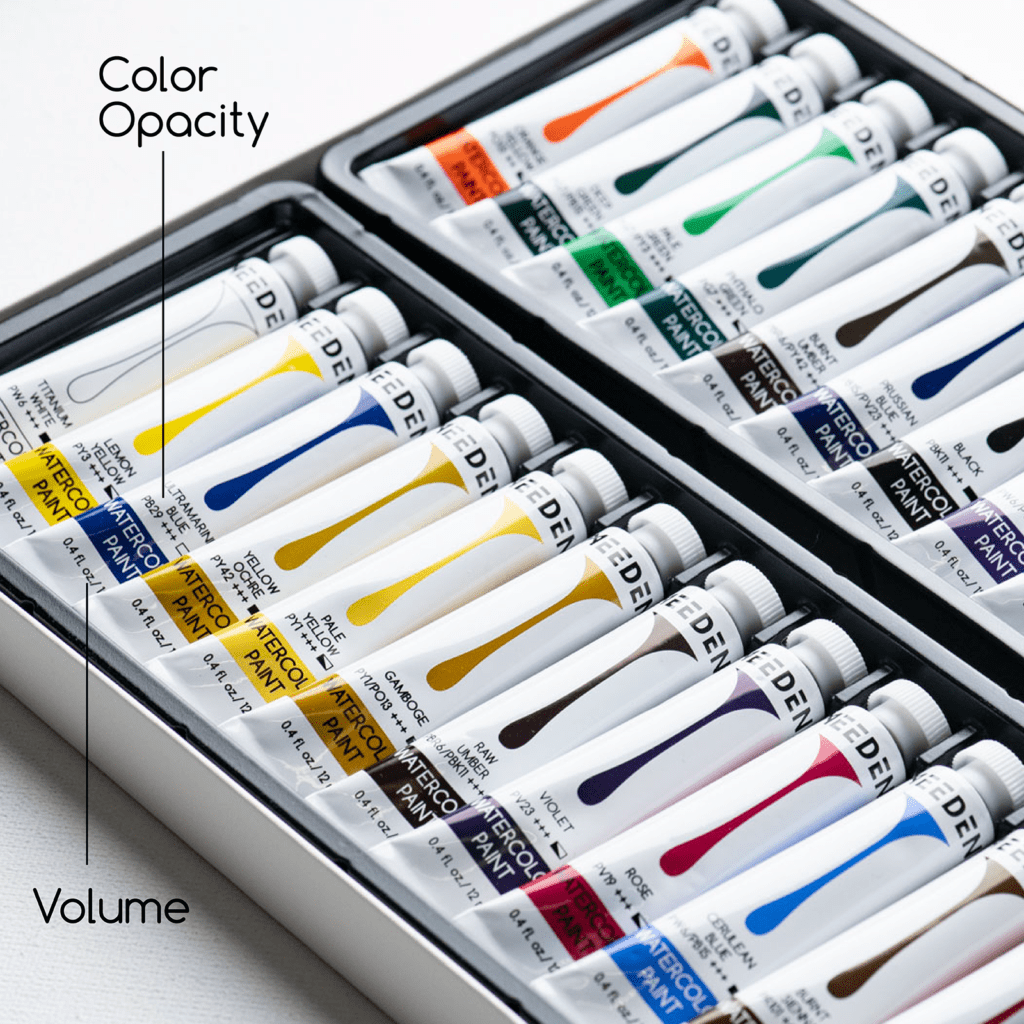
I wanted to try out watercolor paints for this process as acrylic isn’t really my medium – although it certainly gives stunning results! If you don’t have any acrylic, don’t worry. Watercolor works too. And I suggest that tube paint is better than pans, as you have more “body” to work with. That said, I haven’t yet tried the Kuretake paints out for this process.
For my initial experiments there was one obvious choice – the new artists’ set by Meeden, which offers good coverage, vibrant colors and a good color range at a very affordable price which encourages you to experiment liberally with paint.
Click on the photo to visit the Meeden product page.
Paper
As a beginner in this process I took the advice of more experienced people to start with a fairly smooth surfaced paper. A heavy copy paper, or sulphite paper would work well and wouldn’t break the bank. I’m sure that hot pressed watercolor paper would work, but is a pricey option. I would also definitely avoid cold pressed watercolor paper due to the texture of it and whatever your choice of paper, do choose a pure white color to show off the results better.
Other Equipment
You might want to gather the following items before you start:
- Plastic sheet or large plastic bag to protect working surface
- Flat board to work on
- Large sheet of paper to roll off surplus paint on
- A bottle of dishwashing soap
- A ceramic or plastic palette or large white plate to mix on
- A few (not precious) different sized paintbrushes
- Some blunt sticks to draw into paint with
- Any object you can think of which would texturise the paint (combs, bubble wrap, doilies, bottle caps, leaves, feathers, string etc…
- Paper towel
- Large jar of clean water
- Spray bottle of water
And now you are all set to start! Here is a link to the full video for you to watch.